
Theory is important—but real learning happens in the workshop.
In this blog, we’ll walk through a real-world ECM diagnosis case, exactly how a professional technician would handle it.
👉 No guesswork
👉 No shortcuts
👉 Only proper diagnostic process
🧠 Case Overview
🚘 Vehicle:
Petrol car (common Indian hatchback)
🚨 Customer Complaint:
- Car not starting
- Engine cranks normally
❗ Initial Assumption:
- Fuel pump issue
- Battery problem
👉 But the real issue was different.
🔍 Step 1: Verify the Problem
🔧 Observation:
- Engine cranking OK
- No start
👉 This confirms:
- Starter motor working
- Battery sufficient
🟡 Step 2: Basic Checks
🔧 Checked:
- Battery voltage → OK
- Fuel level → OK
👉 Move to next step
🔵 Step 3: Scan with OBD Tool
📊 Result:
- No error codes
- Scanner connected properly
👉 Important clue:
- ECM is alive
🟠 Step 4: Check RPM Signal
📊 While cranking:
- RPM showing → YES
👉 Crank sensor working
⚫ Step 5: Check Spark
🔧 Result:
- No spark
👉 Possible causes:
- Ignition coil
- ECM
🔴 Step 6: Check Fuel Injection
🔧 Result:
- No injector pulse
👉 Now this is critical
🧠 Key Observation
👉 No spark + No injector pulse
This usually indicates:
👉 ECM is not sending output
🟣 Step 7: Check Power & Ground
🔌 Result:
- ECM power OK
- Ground OK
👉 ECM should be working
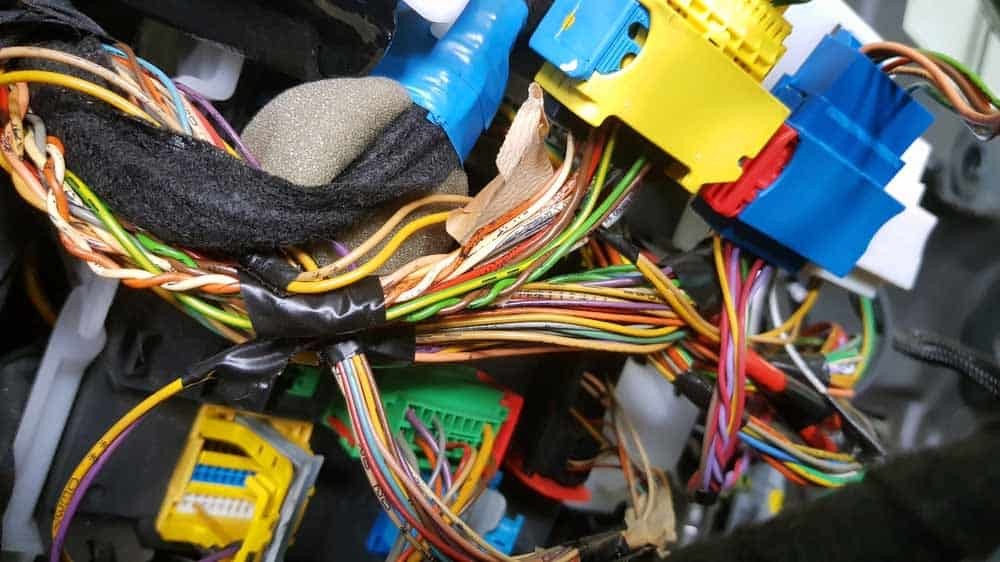
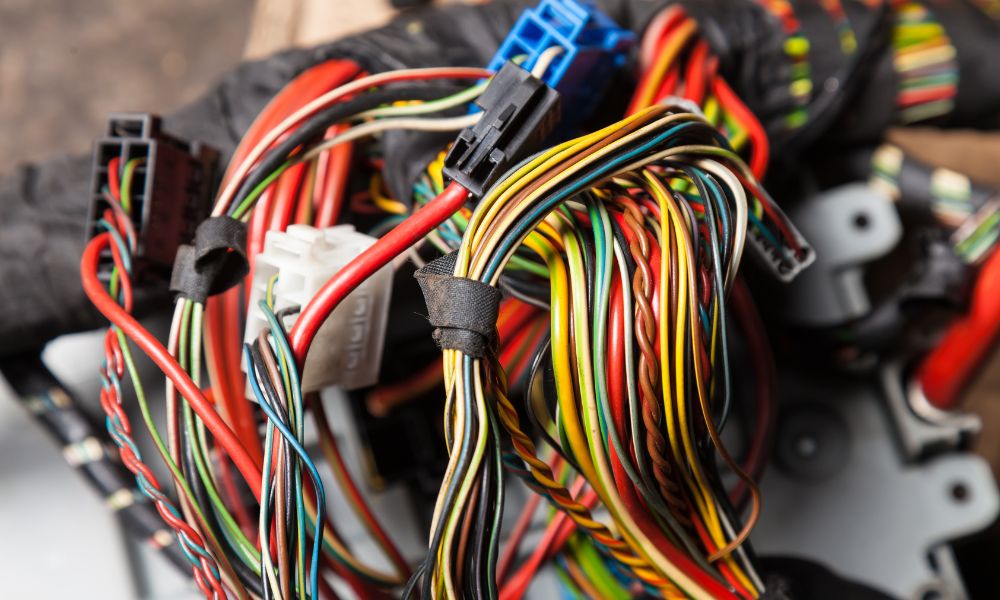
⚙️ Step 8: Check Wiring
🔧 Inspection:
- No visible damage
👉 Wiring ruled out
🔍 Step 9: Final Diagnosis
Conclusion:
👉 ECM output driver failure
🔧 Step 10: Repair Process
🛠️ Action:
- Opened ECM
- Found damaged driver IC
🔧 Fix:
- Replaced IC
- Cleaned PCB
🧪 Step 11: Testing
Result:
- Spark restored
- Injector working
Final Outcome:
👉 Car started normally
🧠 Key Learning Points
✅ Lesson 1:
Always follow step-by-step diagnosis
✅ Lesson 2:
Don’t assume fuel pump or battery
✅ Lesson 3:
Check inputs and outputs
✅ Lesson 4:
ECM failure is confirmed only after eliminating other causes
🛠️ Second Case Study (Intermittent Issue)
🚘 Problem:
Car stalls randomly
Diagnosis:
- Live data normal
- Wiggle test → engine cuts
Root Cause:
👉 Loose ECM connector
Fix:
- Tightened connector
Result:
👉 Problem solved
⚠️ Common Mistakes Highlighted
❌ Mistake 1: Replacing parts blindly
👉 Leads to wasted money
❌ Mistake 2: Skipping basic checks
👉 Misses simple issues
❌ Mistake 3: Not testing outputs
👉 Key diagnostic step
🇮🇳 Indian Workshop Reality
Common Issues:
- Time pressure
- Lack of tools
- Guess-based repairs
👉 Proper diagnosis = competitive advantage
💰 Business Insight
Correct Diagnosis:
- Faster repair
- Higher trust
- More repeat customers
Wrong Diagnosis:
- Loss of money
- Customer dissatisfaction
🔧 Tools Used in This Case
🧰 Basic:
- OBD scanner
- Multimeter
🔬 Advanced:
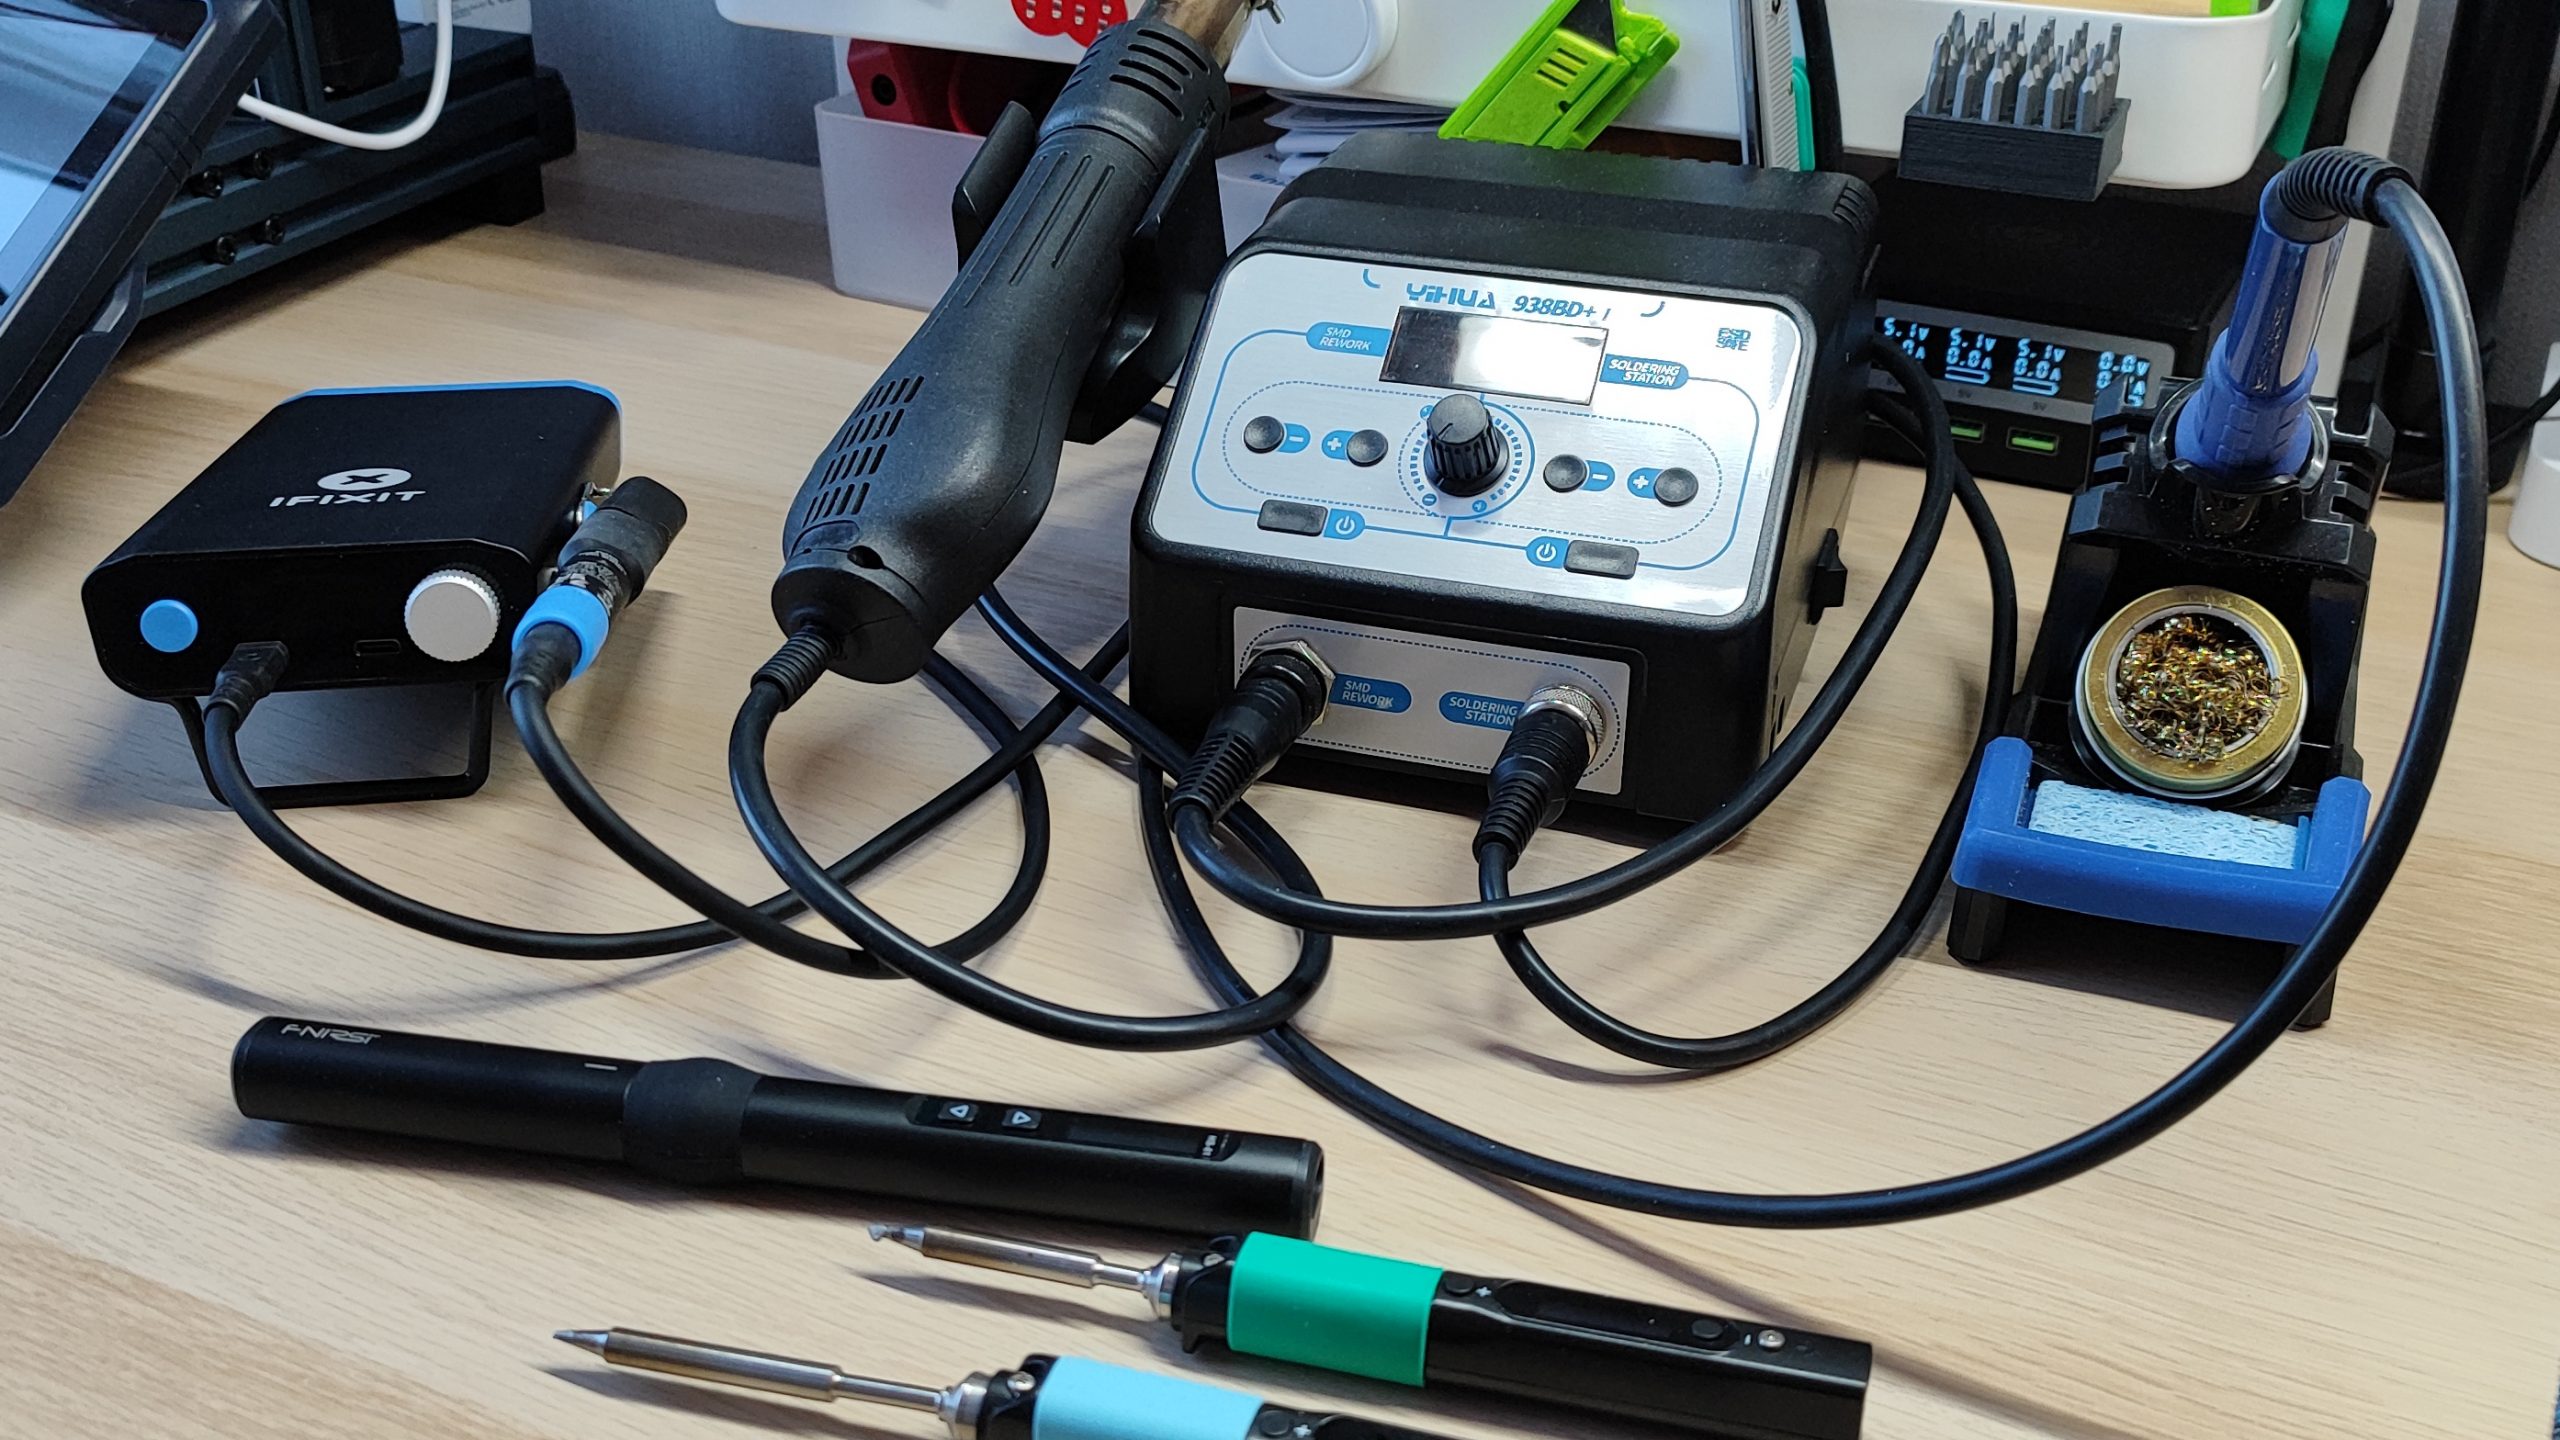
- Soldering tools
- ECM repair kit
📊 Diagnostic Flow Summary
👉 Verify problem
👉 Scan codes
👉 Check sensors
👉 Check outputs
👉 Check power
👉 Confirm ECM
❓ Frequently Asked Questions (FAQs)
Q1: How do professionals diagnose ECM issues?
By following a structured process.
Q2: Can ECM be repaired in workshop?
Yes, with proper tools and skills.
Q3: What is the hardest part of diagnosis?
Identifying root cause.
Q4: Is ECM failure common?
Less common than sensors or wiring.
Q5: Why use case studies?
They improve practical understanding.
🏁 Conclusion
Real-world diagnosis is where true expertise is built.
👉 The key takeaway:
- Follow process
- Don’t guess
- Confirm before repair
If you master this:
👉 You become a trusted expert
👉 You increase earnings
👉 You stand out in the market
📺 Watch a real battery testing demo here: Reynlab YouTube Channel
🌐 Explore our automotive training programs: www.reynlab.com/our-courses