By now, you understand:
- What ECM is
- How it works
- How to diagnose it
Now comes the real skill:
👉 How to repair an ECM
This is where you move from:
👉 Technician → Specialist 💰
⚠️ Important Warning
ECM repair requires:
- Precision
- Patience
- Proper tools
👉 One wrong move can damage the board permanently
🧠 Overview of ECM Repair Process
Professional ECM repair follows this sequence:
- Diagnose the fault
- Remove ECM safely
- Open ECM casing
- Inspect PCB
- Identify faulty components
- Repair/replace components
- Test ECM
- Reinstall and verify
🔧 Step-by-Step ECM Repair
🟢 Step 1: Confirm ECM Fault
👉 Never repair without diagnosis
🔧 Check:
- Inputs
- Outputs
- Power
👉 Confirm ECM is faulty
🟡 Step 2: Remove ECM Safely
🔧 Steps:
- Disconnect battery
- Remove connectors carefully
- Unscrew ECM
👉 Avoid static electricity
🔵 Step 3: Open ECM Casing
🔧 Method:
- Use proper tools
- Avoid damaging seal
👉 Some ECMs are sealed tightly
🟠 Step 4: Visual Inspection
🔍 Look For:
- Burn marks
- Corrosion
- Broken tracks
👉 First clues of failure
⚫ Step 5: Identify Faulty Components
🔧 Common Faulty Parts:
- Capacitors
- MOSFETs
- ICs
👉 Use multimeter for testing
🔴 Step 6: Desolder Faulty Components
🔧 Tools:
- Soldering iron
- Hot air station
👉 Remove carefully
🟣 Step 7: Replace Components
🔧 Ensure:
- Correct part
- Proper soldering
👉 Precision is critical
⚙️ Step 8: Repair PCB Tracks
🔧 If damaged:
- Use jumper wires
👉 Restore connections
🧪 Step 9: Clean PCB
🔧 Use:
- Isopropyl alcohol
👉 Remove flux and dirt
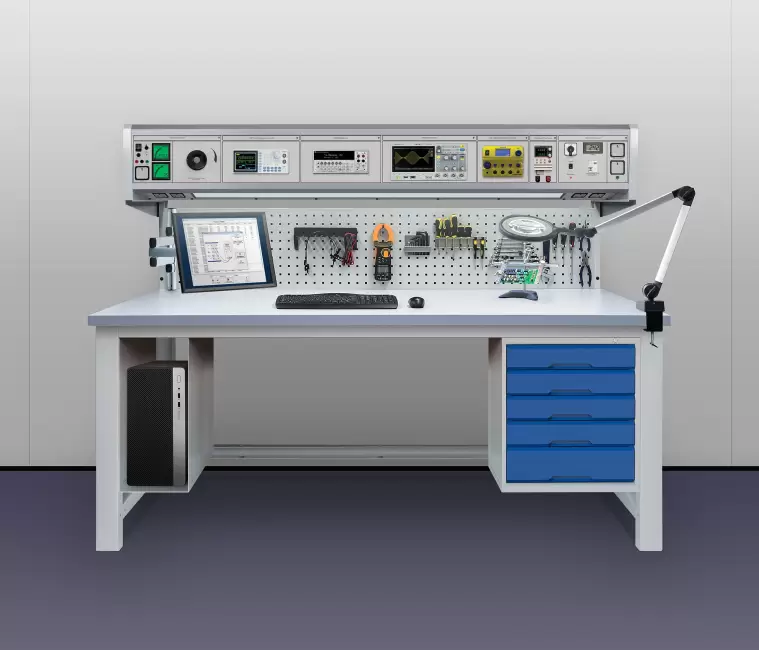
🔬 Step 10: Test ECM on Bench
🔧 Check:
- Power input
- Output signals
👉 Ensure proper function
🔁 Step 11: Reinstall ECM
🔧 Steps:
- Reconnect properly
- Tighten connectors
🧪 Step 12: Final Testing
🔧 Check:
- Engine start
- No error codes
- Smooth performance
🛠️ Real Workshop Case Study
🚘 Problem:
No injector signal
Diagnosis:
- ECM driver fault
Repair:
- Replaced MOSFET
Result:
👉 Engine started normally
⚠️ Common ECM Repair Problems
❌ Problem 1: Overheating PCB
👉 Damages tracks
❌ Problem 2: Wrong component
👉 Causes failure
❌ Problem 3: Poor soldering
👉 Loose connections
🔧 Tools Required for ECM Repair
🧰 Basic Tools:
- Multimeter
- Soldering iron
🔬 Advanced Tools:
- Hot air station
- Microscope
- Oscilloscope
🇮🇳 Indian Market Insight
Opportunity:
- High demand
- Low skilled technicians
👉 ECM repair is a high-income skill
💰 Cost & Profit
Repair Cost:
₹3,000 – ₹15,000
Component Cost:
₹100 – ₹1,000
👉 High profit margins
🛡️ Safety Tips
✅ Do:
- Use anti-static precautions
- Work in clean environment
❌ Avoid:
- Direct heat
- Rough handling
❓ Frequently Asked Questions (FAQs)
Q1: Can ECM be repaired?
Yes, in many cases.
Q2: Is ECM repair difficult?
Beginner level is easy; advanced requires skill.
Q3: What tools are needed?
Soldering tools and diagnostic tools.
Q4: Is it profitable?
Yes, highly.
Q5: Can I learn at home?
Yes, with practice.
🏁 Conclusion
ECM repair is a powerful skill that combines electronics and automotive knowledge.
👉 The key:
- Diagnose correctly
- Repair carefully
- Test thoroughly
Mastering this helps you:
👉 Increase income
👉 Build expertise
👉 Stand out in the market
📺 Watch a real battery testing demo here: Reynlab YouTube Channel
🌐 Explore our automotive training programs: www.reynlab.com/our-courses